Have you ever thought about how much trash you throw into the garbage bin every week? How often do we actually realize just how much trash is produced each and every day?
If you look at your average daily consumption, it is likely that you throw away a LOT of trash every single day.
What if I say that you could do something really amazing for the planet by simply using your trash to make your home a little greener?
Kitchen waste composting is the answer!
It is a great way to recycle, and it’s fun to help turn trash (kitchen waste) into food (for the soil).
Composting is the process of decomposing organic matter into the soil, plant nutrients, and animal feed. Fungi and bacteria can help us break down organic matter and turn it back into the soil. They’re a good part of the natural process of decomposition.
One of the biggest problems with composting is that people think that they can’t do it. So they either don’t do it or they try to do it the wrong way.
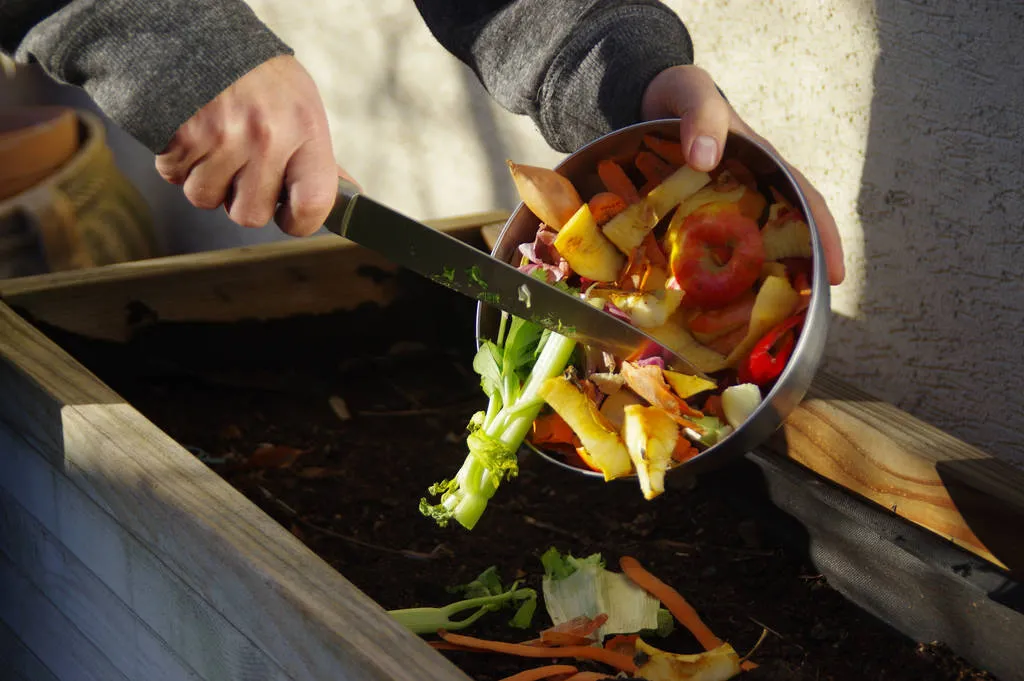
If you want to start composting kitchen waste at home, be rest assured that there is an easy process to follow. You just need to gather all the different types of organic waste that you have around the house into one large bin.
In this article, I’m going to share all the kitchen composting tips and tools you need to start composting at home right away.
Food scraps are part of what you produce all year long. You should never throw this valuable resource in your trash.
DIY Kitchen Waste Composting Guide
How to start composting kitchen waste in your very home. This type of composting is the easiest way to recycle your food, create new soil for gardening, and help conserve natural resources. There are many ways to make this happen, but today we will be talking about how to do it at your home.
Make Your Own DIY Kitchen Waste Compost Bin
Many people think that they need to buy a compost bin in order to start composting. But that is not the case. You can start composting kitchen waste in a flower pot, earthen pot (matka), old plastic bucket, or terracotta pot.
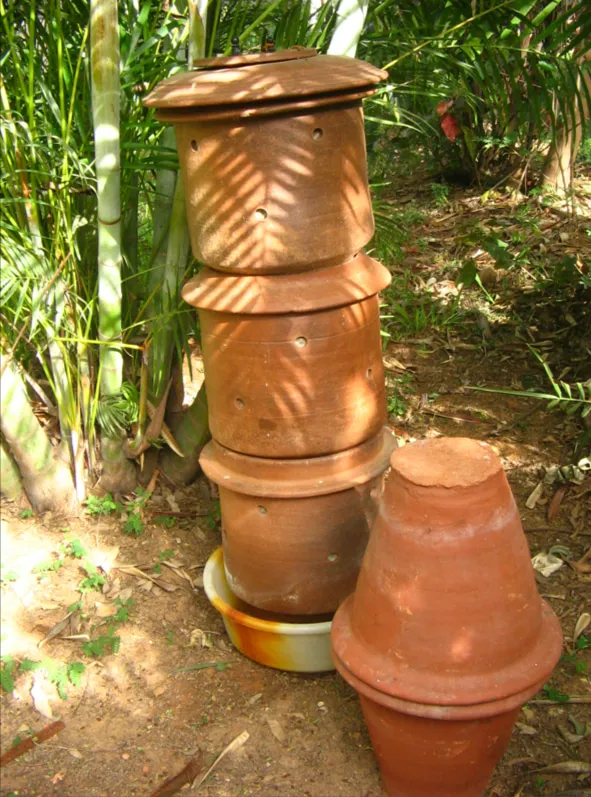
You might have some old ones lying at your place or you can simply buy them as they are pretty inexpensive and durable.
You will need at least 3 pots if you have a family of 4-5.
You can start composting in one pot but since composting takes time, it’s better to start again in other pots once the first one gets full to keep the process going.
Whether you use a flower pot, earthen, or a terracotta pot, you need to do the following:
- Drill the Holes – To drill the holes, use a driller/screwdriver/ nails. It’s a must to make a hole at the bottom center. This is where the leachate escapes.
- Find a Place to Setup – A corner of a garden or a balcony is a good location to setup. Keep away from the sun. Underneath the stand, place the pot over the tripod. You can also use an earthen plate instead of the stand which would act as a base even when you keep one pot over another. Rather than keeping all three pots separately, you should keep one over another with a base (after you drill the required holes).
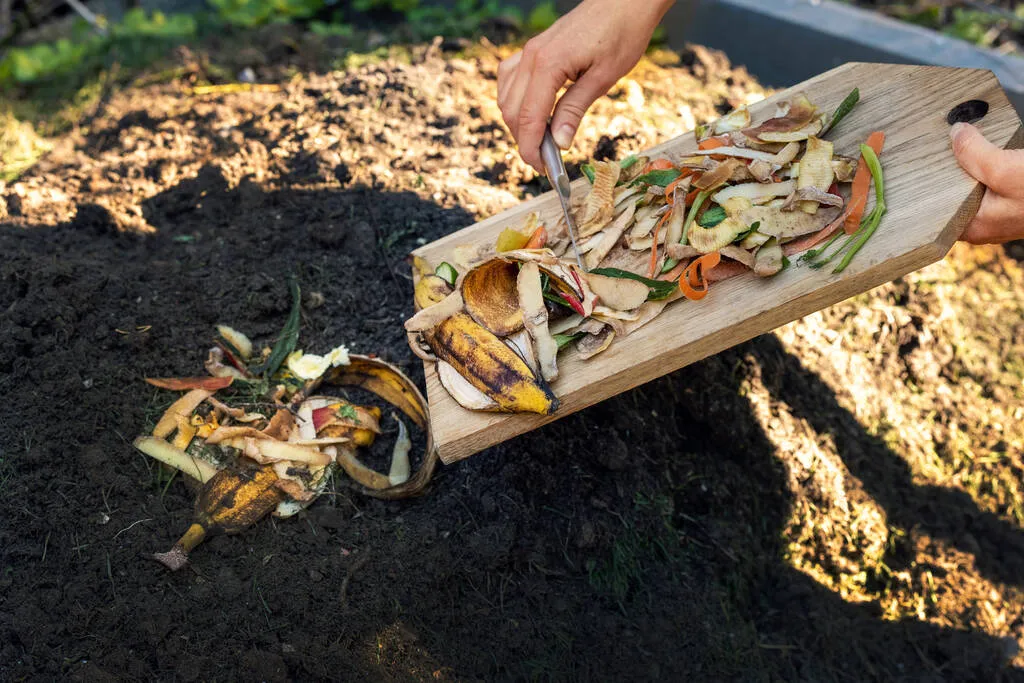
- Start Layering – The base of the pot should be covered with dry waste. Put your kitchen waste in the pot. You can cover the kitchen waste with a thin layer of browns. Until the pot is full, the process of layers goes on.
4 Super-Easy Kitchen Waste Composting Tips to Get Started
Let’s break the kitchen waste composting process into 4 steps and look at the above steps in a more detailed way.
Whether you buy the kitchen composting bin from the market or you make your own at home, the following steps would remain the same.
#1. Collect the Kitchen Waste and Get Composting Ready
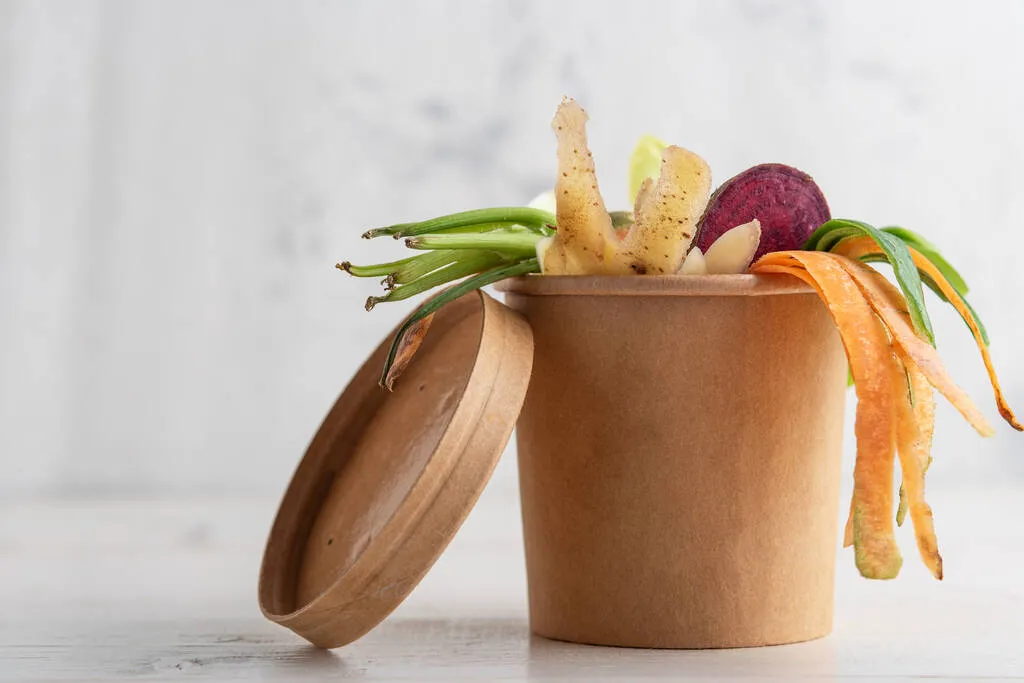
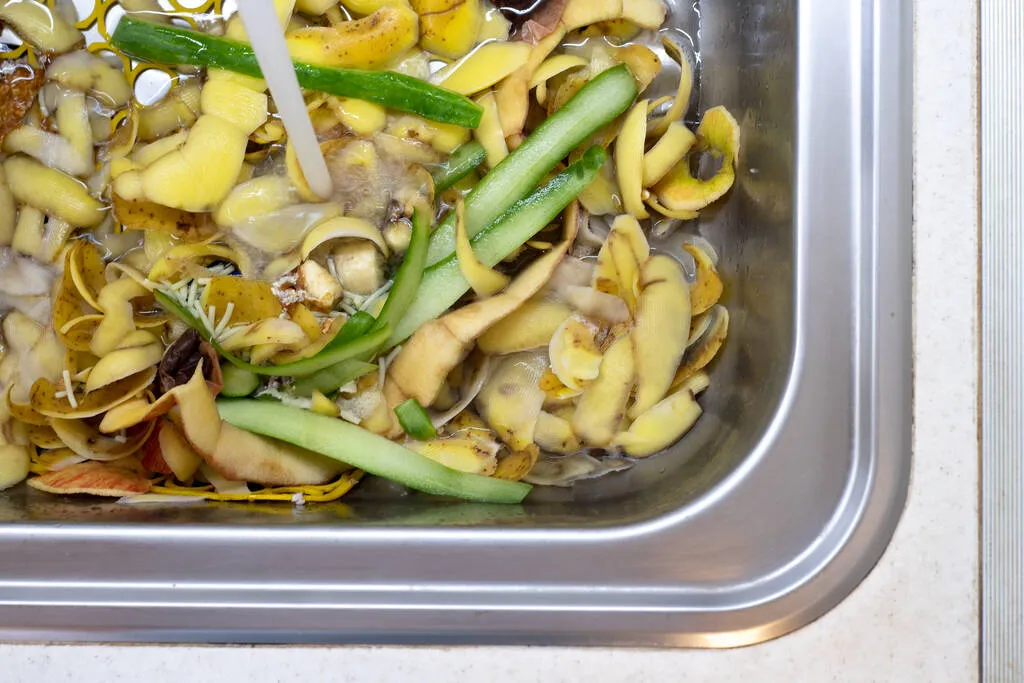
To start, pick up all the organic waste from your kitchen which will have vegetable peels, fruit peels, eggshells, etc. Get your compost bin ready.
Kitchen composting is one of the best ways to get rid of your food scraps and save money at the same time.

The compost is made from organic matter that decomposes. But to speed up the process, add some leaves, grass, damp paper, twigs, etc.
#2. Mix Brown and Green Materials
Leftover food isn’t enough to make fertile soil. You need lots of organic matter in addition to nitrogen, phosphorus, and other minerals to create really good compost.
Leftover food and other organic kitchen waste is known as “green” composting material.
For successful composting, you should mix this with “brown” materials that have a high carbon content.
The materials that are green and moist tend to be high in nitrogen, and those that are brown and dry are high in carbon.
Grass clippings, plant clippings, fruit and vegetable scraps, coffee, tea bags, green leaves are some of the high nitrogen materials.
High carbon materials include dry leaves, damp newspaper, sawdust, wood chips, wood ash, straw, and hay, etc.
Ideally, you should add 2 parts brown and 1 part green. Put your dry items (brown) on the bottom of the bucket, then lay the wet items (greens) on top.
Make sure you don’t add metal, plastic, bones, cheese, biohazards, glass, or any other non-biodegradable material.
When you use your own biodegradable waste bins to compost your kitchen scraps, you’ll have less trash to send to landfills.
And because it breaks down naturally, you don’t need to add any special chemicals to your compost.
#3. Stir Up the Pile
Sprinkle some water.
You may add equal amounts of green and brown materials but if you want to improve the composting process, add more brown materials or aerate it more often.
Stir up the whole mixture of green and brown composting to prevent odor and rotting using a shovel/ garden fork (every 2-3 days).
Make sure that your kitchen composting bin or pile is in a sunny, shady, or ventilated place. There should be enough air to prevent mold, but not so much that it will dry out.
The decomposition process will be hampered if it is too wet or dry.
If you feel that the mix has high moisture, add dry waste. If the mixture is dry, add some water.
Do not forget to add soil once every week.
Buttermilk would act as a catalyst to the whole decomposing process. Add it once a week to fasten the process.
#4. Feed the Garden
Let it compost. Keep the compost aside once the bin/pot is full.
Check for moisture content at least once a week.
The natural composting process may take 45 to 60 days to form a good compost.
You can tell when compost is ready by how it looks, feels, and smells.
Compost should be dark brown and have the appearance of the earth. It should crumble when you squeeze it and smell like earth.

If your compost is still smelling like rotten vegetables, you need to give it more time before emptying the bin or using it.
Be sure to maintain the health of compost by turning it occasionally.
This will keep the compost aerated, which will help the decomposition process continue.
If your compost pile is too wet or too dry, it will be harder for the microbes to do their job. Once it’s ready, you can use it to feed your garden.
We have a detailed Perennial Gardening Guide for Budding Gardeners, have a look.
What Not to Compost and Why
What can you compost? What you should not compost? You can compost just about everything biodegradable, but here are some things that you should not compost:
- Diseased plants – Weeds that have gone to seed.
- Dairy products – including butter, milk, sour cream, and yogurt, create an odor problem. They can attract pests such as mice, rats, cockroaches, ants, wasps, and flies.
- Pet wastes – Can be contaminated with parasites, germs, bacteria, and pathogens harmful to humans C: Pet waste (e.g., dog or cat feces, soiled cat litter) – May contain worms, parasites, bacteria, germs, pathogens, and viruses that are harmful to humans
- Coal or charcoal ash – Might contain substances harmful to plants
- Fats, grease, lard, or oils – Create odor problems and attract pests such as rodents and flies
- Cooked food waste – Can invite pests, make compost anaerobic, and smell real bad
Also, chopping down the vegetable waste would be helpful for the Kitchen Waste composting process.
Benefits of Composting Kitchen Waste

Composting is one of the most effective ways to reduce pollution in our environment.
The simple process of adding organic matter to soil is a natural way to reduce greenhouse gas emissions.
Here are some of the benefits of Kitchen Waste composting:
Reduce Waste at Home
Kitchen waste accounts for most of the waste in our homes. Composting kitchen waste is a great way to make use of kitchen waste and reduce the amount of waste at home.
Otherwise, it gets mixed with other plastic waste we throw away and ends up being rotten in landfills.
Saves Both Money and the Environment
Composting kitchen waste helps the environment by reducing the need to create and use artificial fertilizers and pesticides.
Instead of buying manure for your garden, you can simply use the compost you prepared at home. It helps you save money on your garden bills.
It increases the fertility of your soil and helps your plants grow bigger and stronger. Composting also reduces the amount of water needed to maintain lawns.

Keeps Community Green
Once you start reducing waste at your home and others follow, kitchen waste composting reduces the amount of garbage in your community as a whole.
It keeps our land, air, and water clean and keeps our communities green.
Moving towards a Sustainable Future
It’s high time we start contributing towards achieving Sustainable Development Goals 2030 (SDGs) for a better future.
If you start kitchen waste composting at home, you’ll realize it can help make your home more efficient and sustainable.
I was able to significantly reduce the waste at my place because of kitchen waste composting.
In the Last
Did you find the kitchen waste composting method easy? If you have any questions, feel free to comment down and ask.
Hope these composting tips help you. Also, let us know when you do start kitchen waste composting at home.
Once you start it, I don’t think you would ever look back. It is a fulfilling experience because of the many benefits it offers.
If you think composting isn’t for you, think again!
FAQs – Kitchen Waste Composting AT Home
Here are some quick FAQs questions and their answers for you:
Can I Make Compost at Home?
Absolutely. Instead of throwing away those orange peels and apple cores (use your kitchen waste), why not make a great deal of money by selling them to a local composting facility?
What Can Be Composted at Home?
Kitchen Waste. It’s best to compost the kitchen waste, it won’t just save your compost expenses but also decrease the daily waste at home.
Does a Compost Bin Need Air Holes?
Always. Effective decomposition of organic waste requires air. If the material mixture is too dense, the holes in the composter will not be sufficient to facilitate airflow to the center of the bin, where decomposition is usually at its peak.
How Long Does It Take for Compost to Be Ready?
Usually, the composting process could take 45 to 60 days.
What Should You Not Put in Compost?
You should never add cooked food, pet waste, coal, bones, diseased plants, or dairy products.
Do Compost Bins Smell?
A compost pile that is balanced should not smell bad. If your compost doesn’t smell like dirt or manure, there is probably something wrong and you aren’t producing your compost pile properly.